
文章目录
- 背景介绍
- latex 安装
- 编辑器
- 编译文件指定输出文件夹
- usepackage
- latex 语法
- 列表
- 插入图片
- 添加参考文献
- 参考资料
背景介绍
最近在写文章,更喜欢latex的论文引用。然后开始学习 latex。
latex 安装
科研必会——在Mac上配置LaTeX写作环境: https://zhuanlan.zhihu.com/p/560361957
编辑器
本文选择vscode作为编辑器,当然大家也可以尝试overleaf。
overleaf 有网页端,也有第三方的本地安装包 不过,对于程序员而言,vscode 更习惯一些
在 vscode中,安装 latex workshop 插件。 
编译文件指定输出文件夹
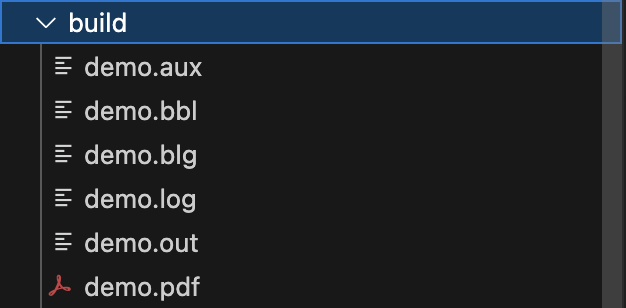
latex 文件在编译过程中,会输出很多文件。将这些中间文件放入到指定的输出文件夹中,能够让当前文件夹更整洁干净。
编辑 vscode 的用户配置json文件。输入 open setting,查找出用户设置json文件。 
添加下述的配置信息,指定latex编译文件的输出路径为 build文件夹:
	"latex-workshop.latex.tools": [
        {
            "name": "xelatex",
            "command": "xelatex",
            "args": [
                "-synctex=1",
                "-interaction=nonstopmode",
                "-file-line-error",
                "-output-directory=build",
                "%DOC%"
            ]
        }
    ],
    "latex-workshop.latex.recipes": [
        {
            "name": "xelatex",
            "tools": ["xelatex"]
        }
    ],
    "latex-workshop.latex.outDir": "build"
如此,便可实现将 latex 的编译文件全部放入 build 文件夹中,从而保证latex原始文件目录的整洁。
usepackage
bash\usepackage[UTF8]{ctex}, 支持汉语\usepackage{graphicx}支持导入图片\usepackage[colorlinks=true, allcolors=blue]{hyperref}插入链接
latex 语法
列表
\begin{itemize}
\item \dots
\item 除法 $\frac{a}{b}$
\item 累加 $\sum_{1}^{\infty}X_i$
\item $\frac{1}{n}\sum_{i}^{n}X_i$
\end{itemize}
插入图片
\begin{figure}
\centering
\includegraphics[width=0.25\linewidth]{img.assets/butterfly.jpg}
\caption{\label{fig:butterfly}butterfly.}
\end{figure}
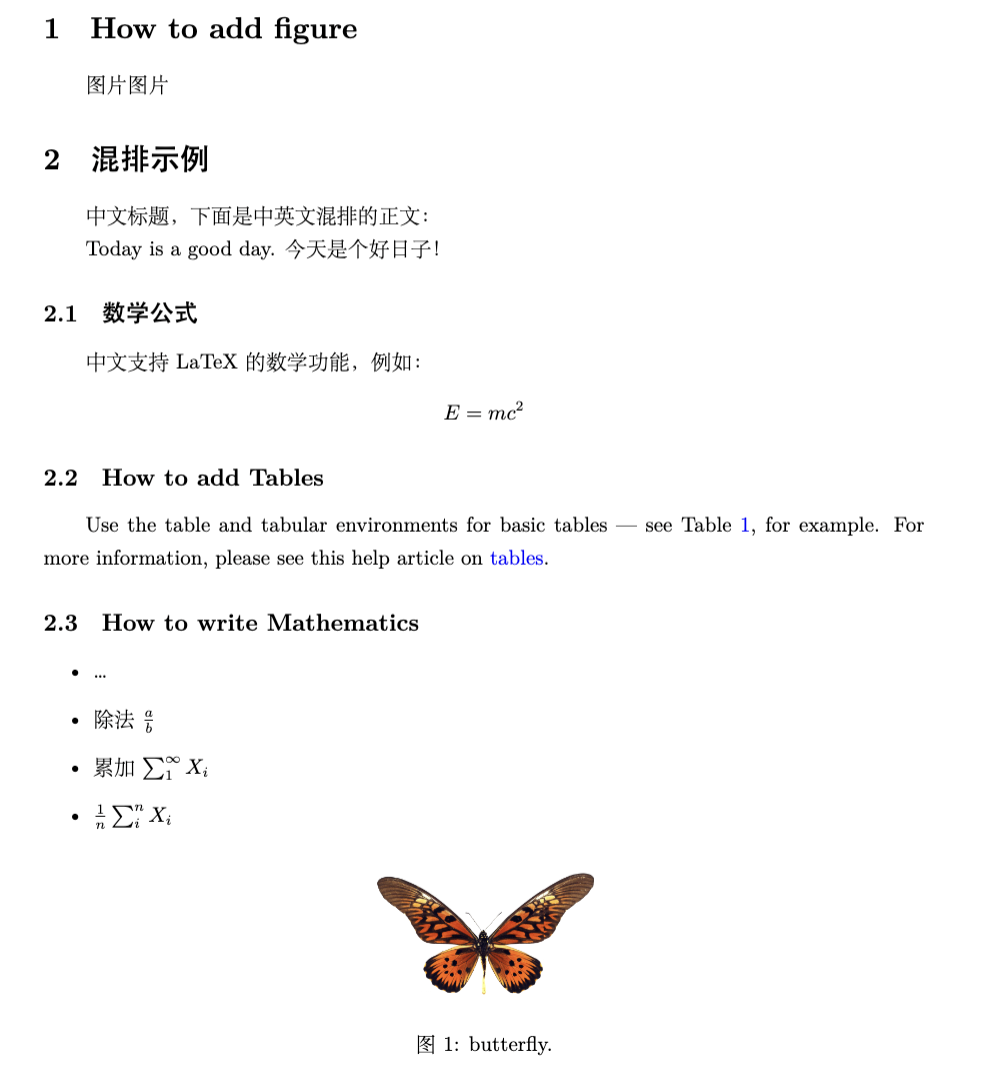
在 latex 文档插入图片时,图片出现的当前位置有可能是本页尾, 如下图所示。
\section{How to add figure}
See the code for Figure \ref{fig:butt} in this section for an example.
\begin{figure}[htbp!]
\centering
\includegraphics[width=0.25\linewidth]{img.assets/butterfly.jpg}
\caption{\label{fig:butt}butterfly.}
\end{figure}
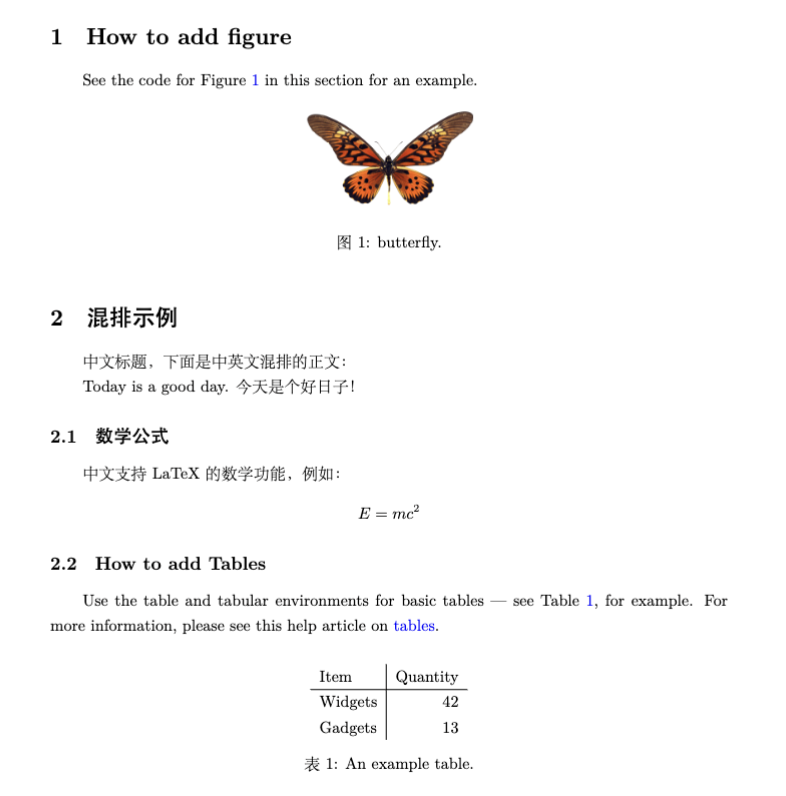
在 LaTeX 中,图片的位置有时会因为布局而随机变化。为了更精确地控制图片位置,可以在 \begin{figure} 中指定位置选项。常用选项包括:
h:放置在当前位置(here)。t:放置在页面顶部(top)。b:放置在页面底部(bottom)。p:放置在单独的一页(page of floats)。!:强制 LaTeX 忽略某些限制。
你可以将这些选项组合使用,比如 [htbp!],尝试让图片尽量出现在当前位置,或者调整布局。例如:
\begin{figure}[htbp!]
\centering
\includegraphics[width=0.25\linewidth]{img.assets/butterfly.jpg}
\caption{\label{fig:butterfly}butterfly.}
\end{figure}
如果关于图片的引用是??,运行两次即可看到。
添加参考文献
由于我们指定了输出文件夹为build,参考文献demo.bib文件也需要放到build文件夹下。
中文论文引用: \cite{SHJT20241220001}

\bibliographystyle{plain}
\bibliography{demo}
先使用 bibtex 编译, bibtex : bibtex demo 对应的是 demo.tex,不用写 .tex 后缀。
bibtex demo
 再对latex 文件编译2次就可以了。
在 vscode 中配置 snippets,使用快捷键,快速得到latex的模版:
{
	// Place your snippets for latex here. Each snippet is defined under a snippet name and has a prefix, body and
	// description. The prefix is what is used to trigger the snippet and the body will be expanded and inserted. Possible variables are:
	// $1, $2 for tab stops, $0 for the final cursor position, and ${1:label}, ${2:another} for placeholders. Placeholders with the
	// same ids are connected.
	// Example:
	// "Print to console": {
	// 	"prefix": "log",
	// 	"body": [
	// 		"console.log('$1');",
	// 		"$2"
	// 	],
	// 	"description": "Log output to console"
	// }
	"Print to console": {
		"prefix": "tex",
		"body": [
			// "console.log('$1');",
			"\\documentclass{article}",
			"\\usepackage[letterpaper,top=2cm,bottom=2cm,left=3cm,right=3cm,marginparwidth=1.75cm]{geometry}",
			"\\usepackage[UTF8]{ctex}",
			"\\usepackage{amsmath}",
			"\\usepackage{graphicx}",
			"\\usepackage[colorlinks=true, allcolors=blue]{hyperref}",
			"",
			"\\title{'$1'}",
			"\\author{Jie Shen}",
			"",
			"\\begin{document}",
			"\\maketitle",
			"\\section{'$2'}",
			"",
			"\\bibliographystyle{plain}",
			"\\bibliography{ref}",
			"\\end{document}",
		],
		"description": "Log output to console"
	}
}
输入 tex 后,便可得到快速得到下述的代码模版: 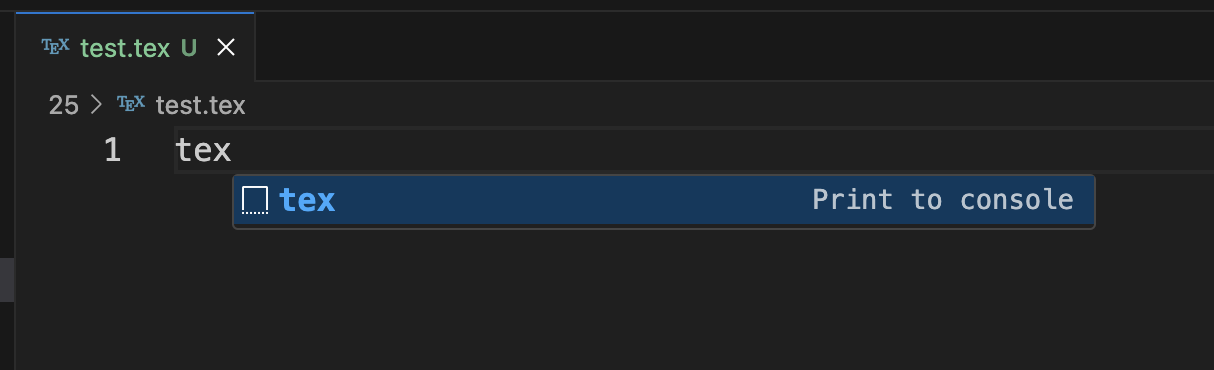

参考资料
- https://leilie.top/2022-03-17/Study-VSCode-LaTex